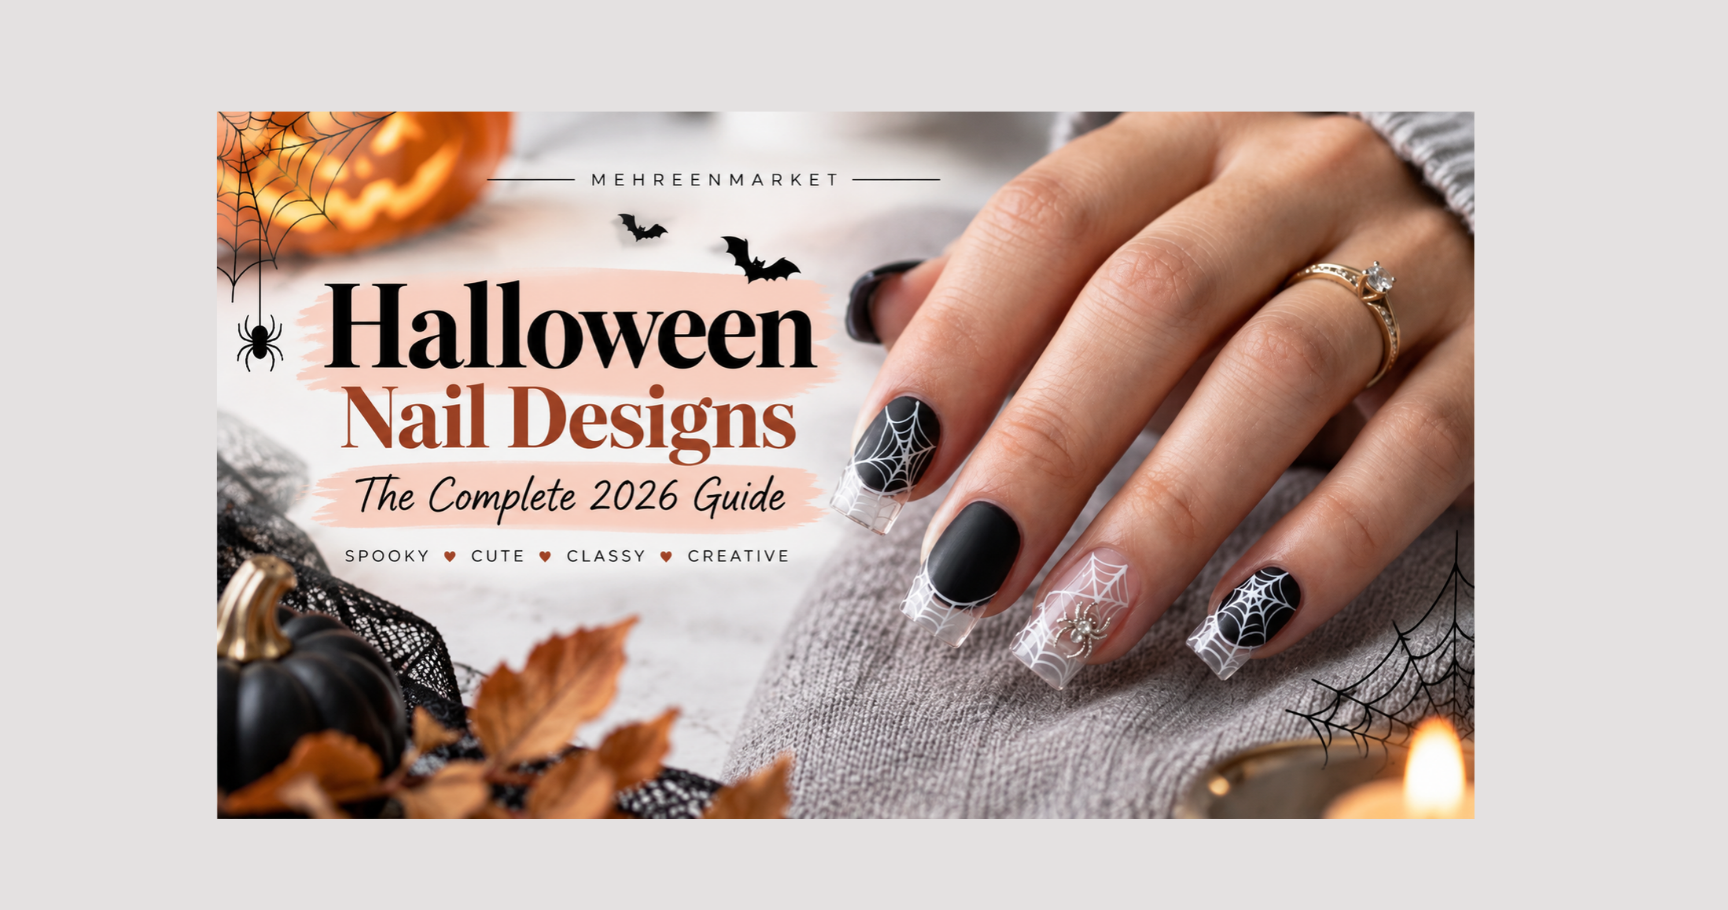
This guide covers everything the top guides miss. You will get real design ideas, honest cost numbers, safety tips no one else mentions, easy steps for beginners, and answers to the questions people actually type into Google before and after they book a manicure.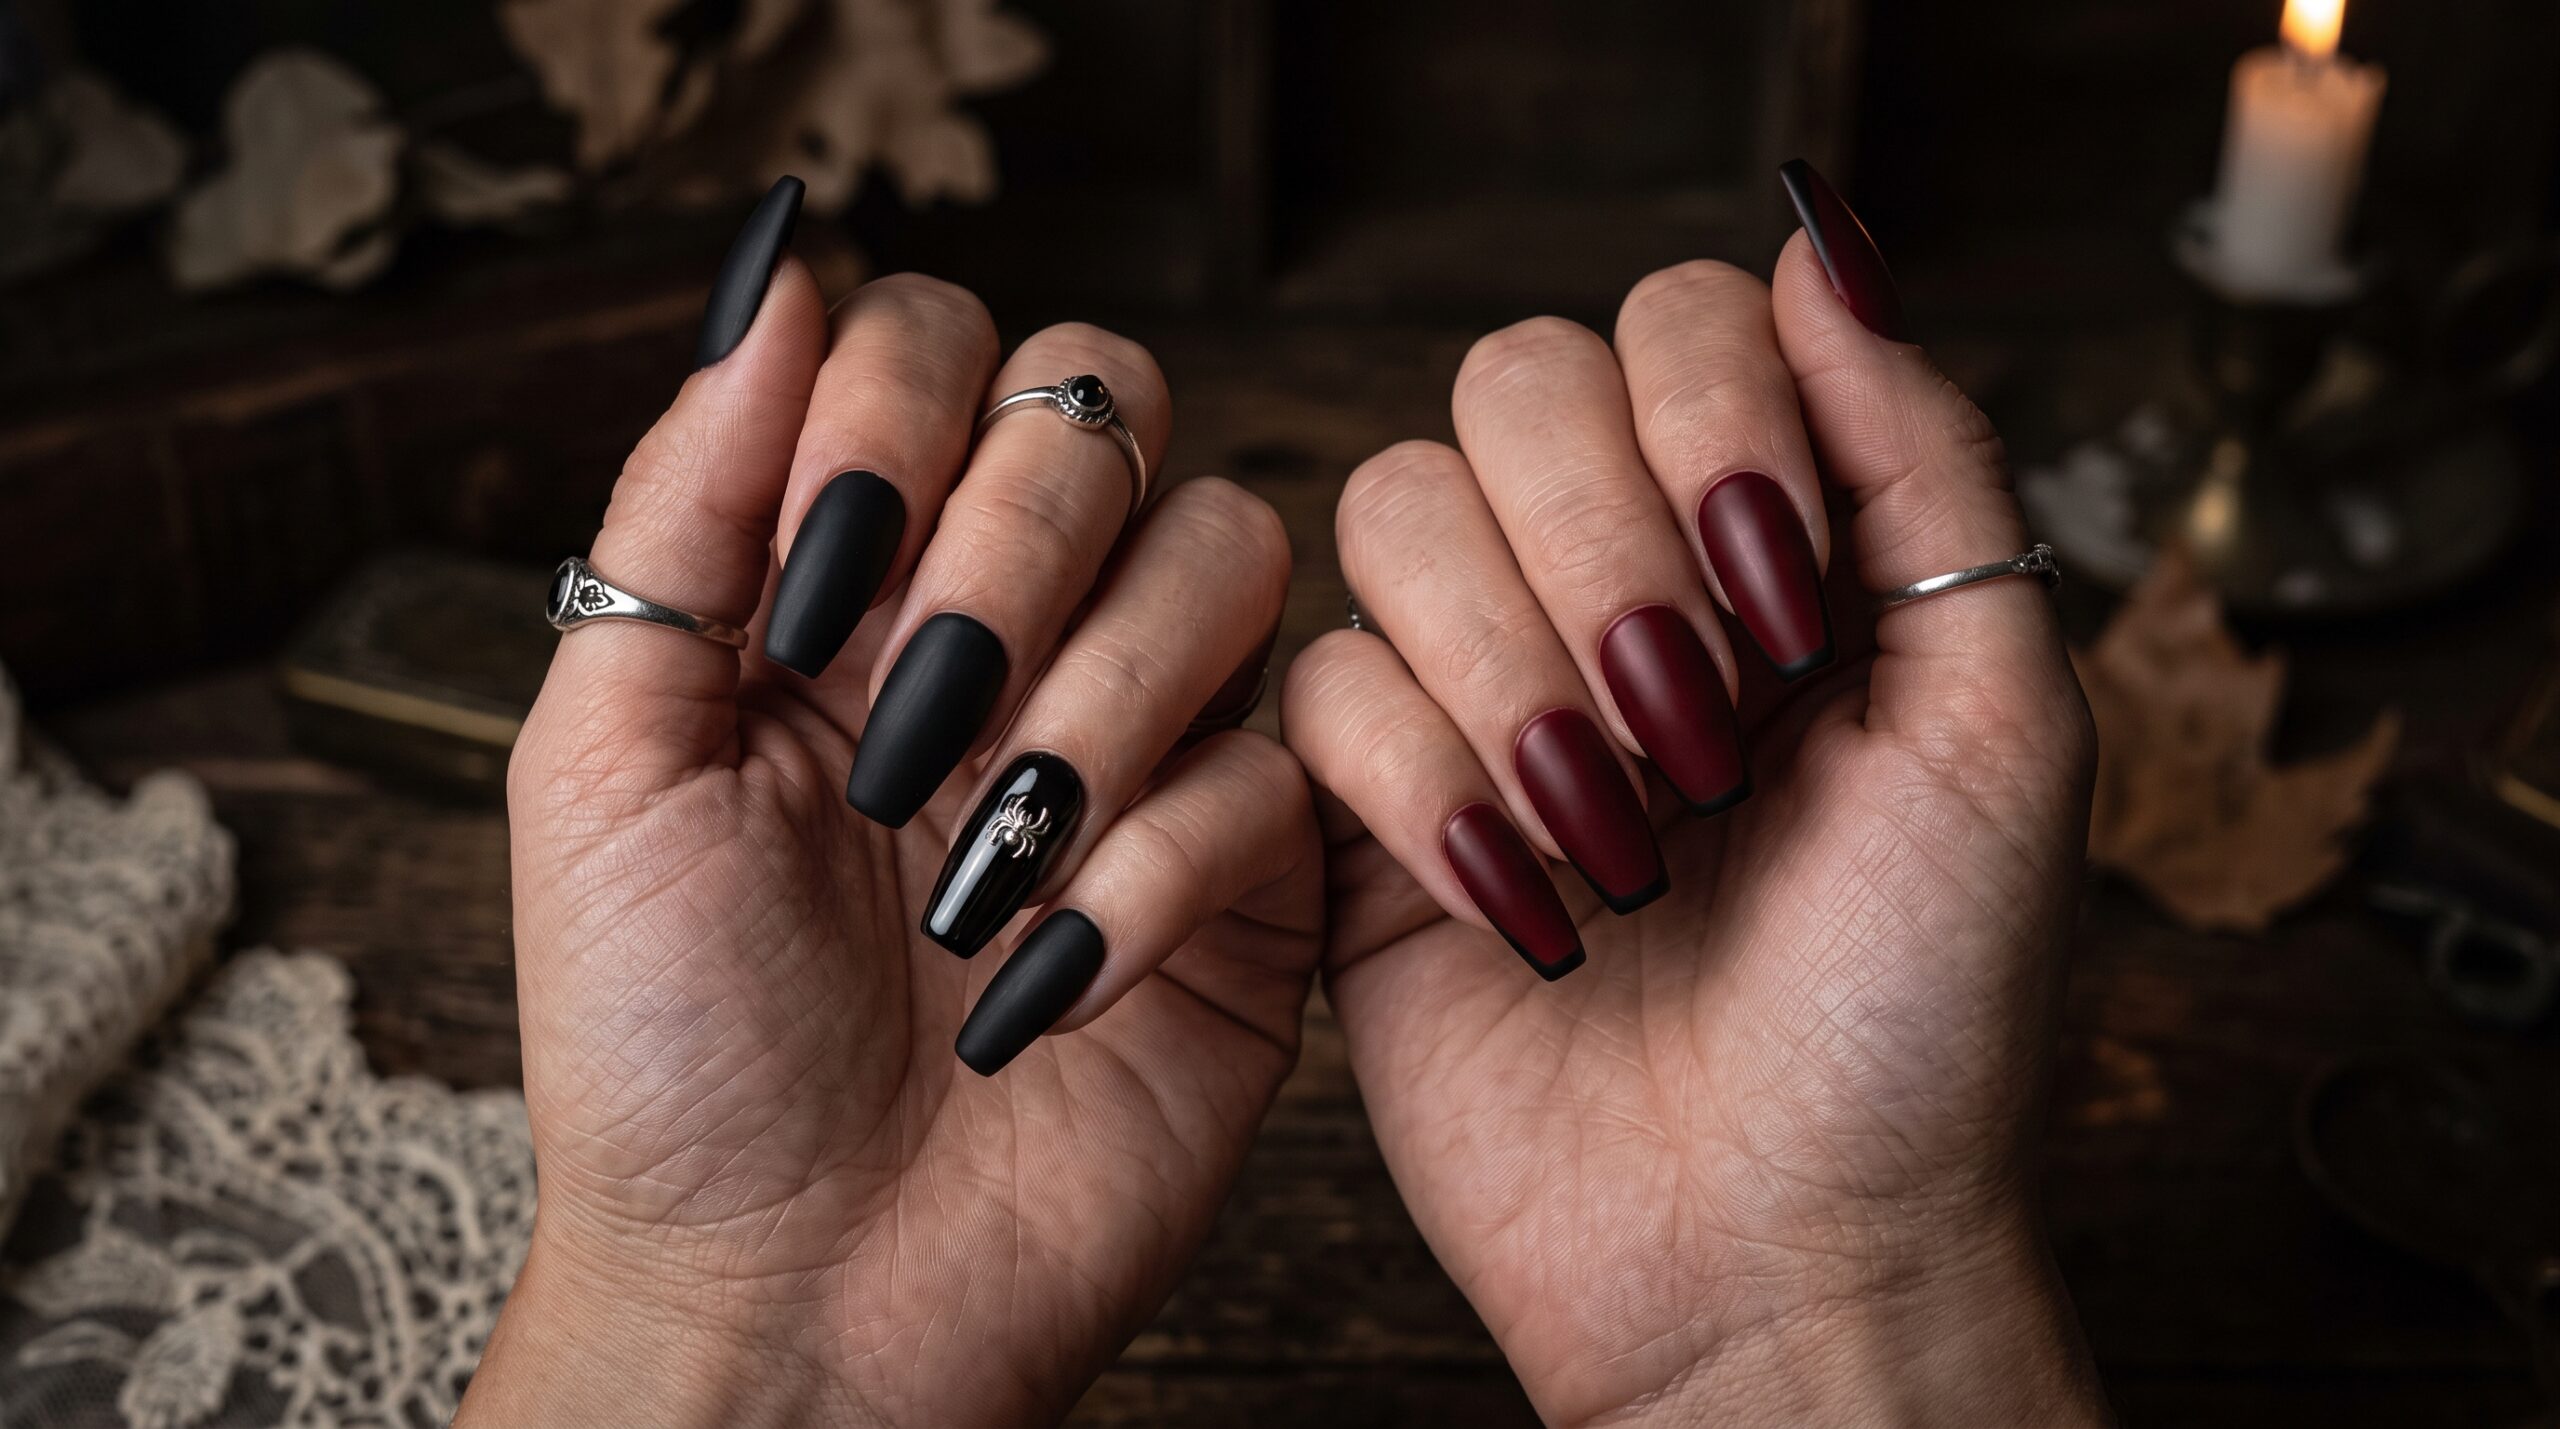
Nails are a small canvas, but they are a public one. You cannot hide your hands the way you can hide a Halloween sweater under a coat. That is part of the appeal.
There is also the cost side. A full costume can run you fifty dollars or more. A set of Halloween themed nail designs, whether you paint them yourself or buy press ons, usually costs under fifteen dollars. That makes nail art one of the cheapest ways to celebrate the season.
Pinterest data backs this up too. Searches for Halloween nail art and spooky nail designs climb sharply every September and peak right before the holiday, which tells you this is not a small trend. It is a full seasonal ritual for millions of people.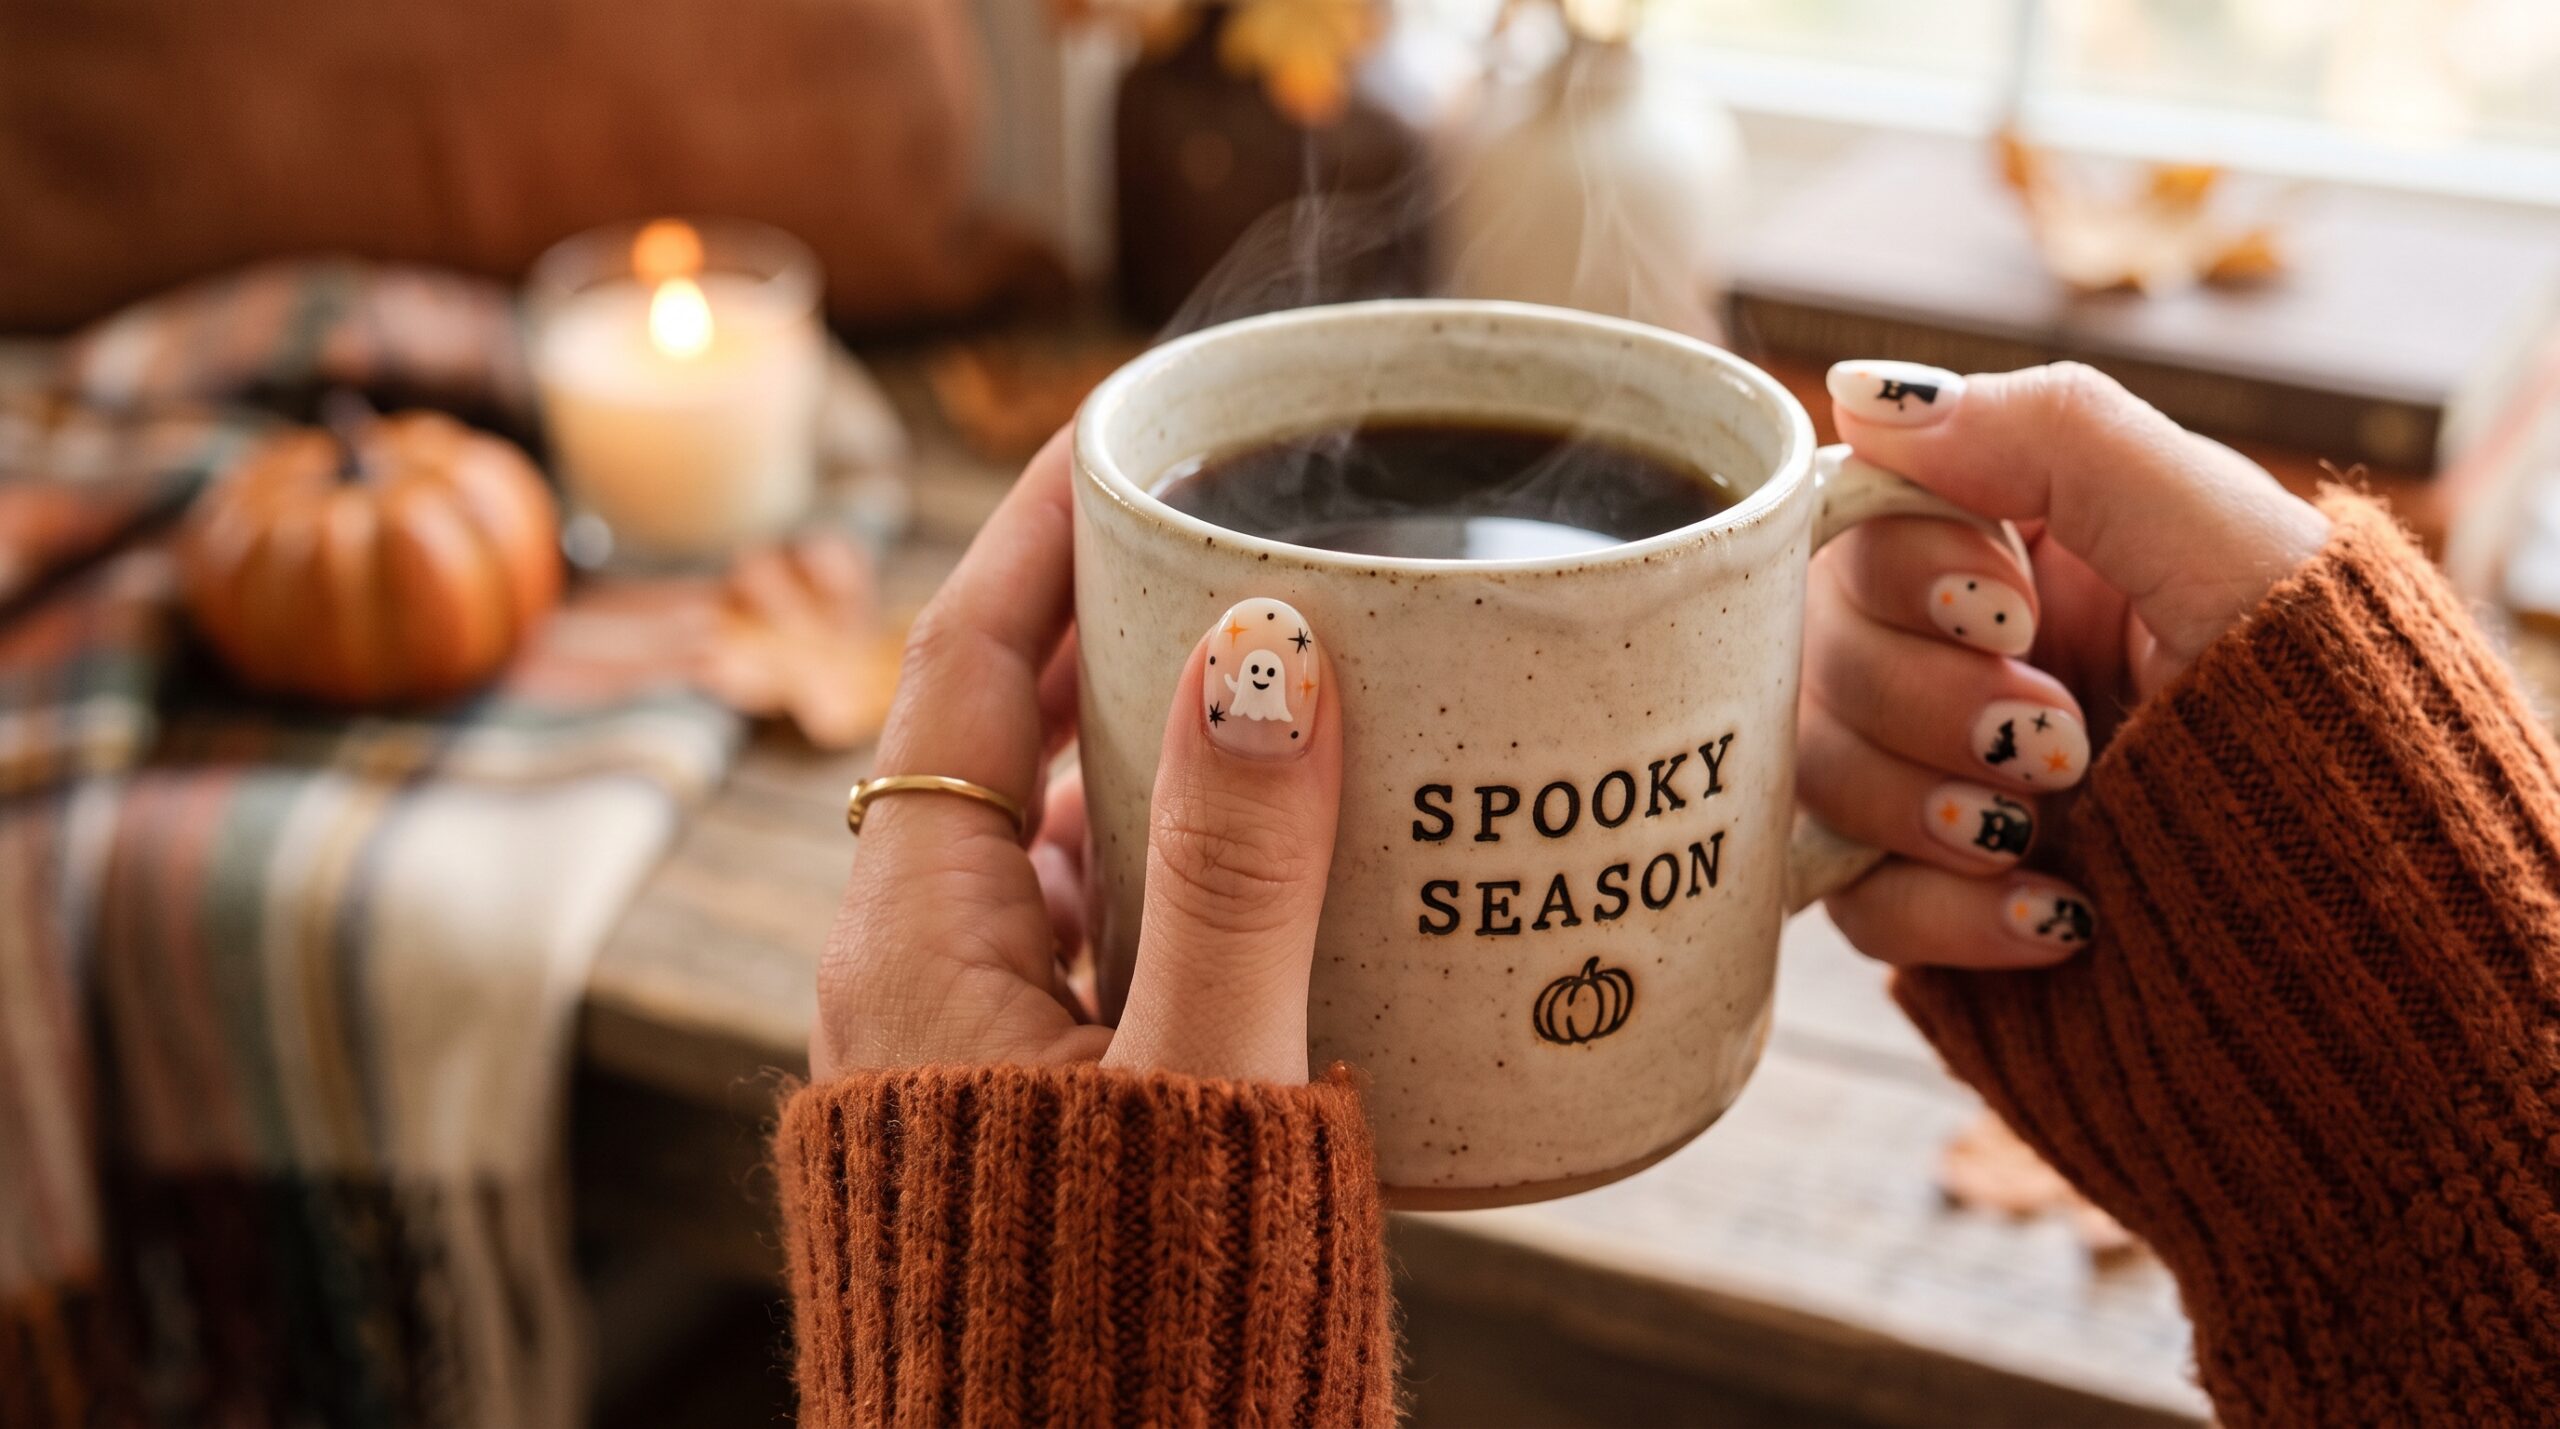
Most guides just dump forty photos on you with no order. That is confusing. It helps far more to sort designs into a few clear groups first, then pick the one that matches your personality and your plans.
This is the friendliest style. Think small ghosts, tiny pumpkins, dots, and stars on a soft base color. It suits kids, teens, or anyone who wants Halloween spirit without anything scary.
This style leans into the moody side of the season. Matte black, oxblood red, deep plum, and wine tones lead the way here.
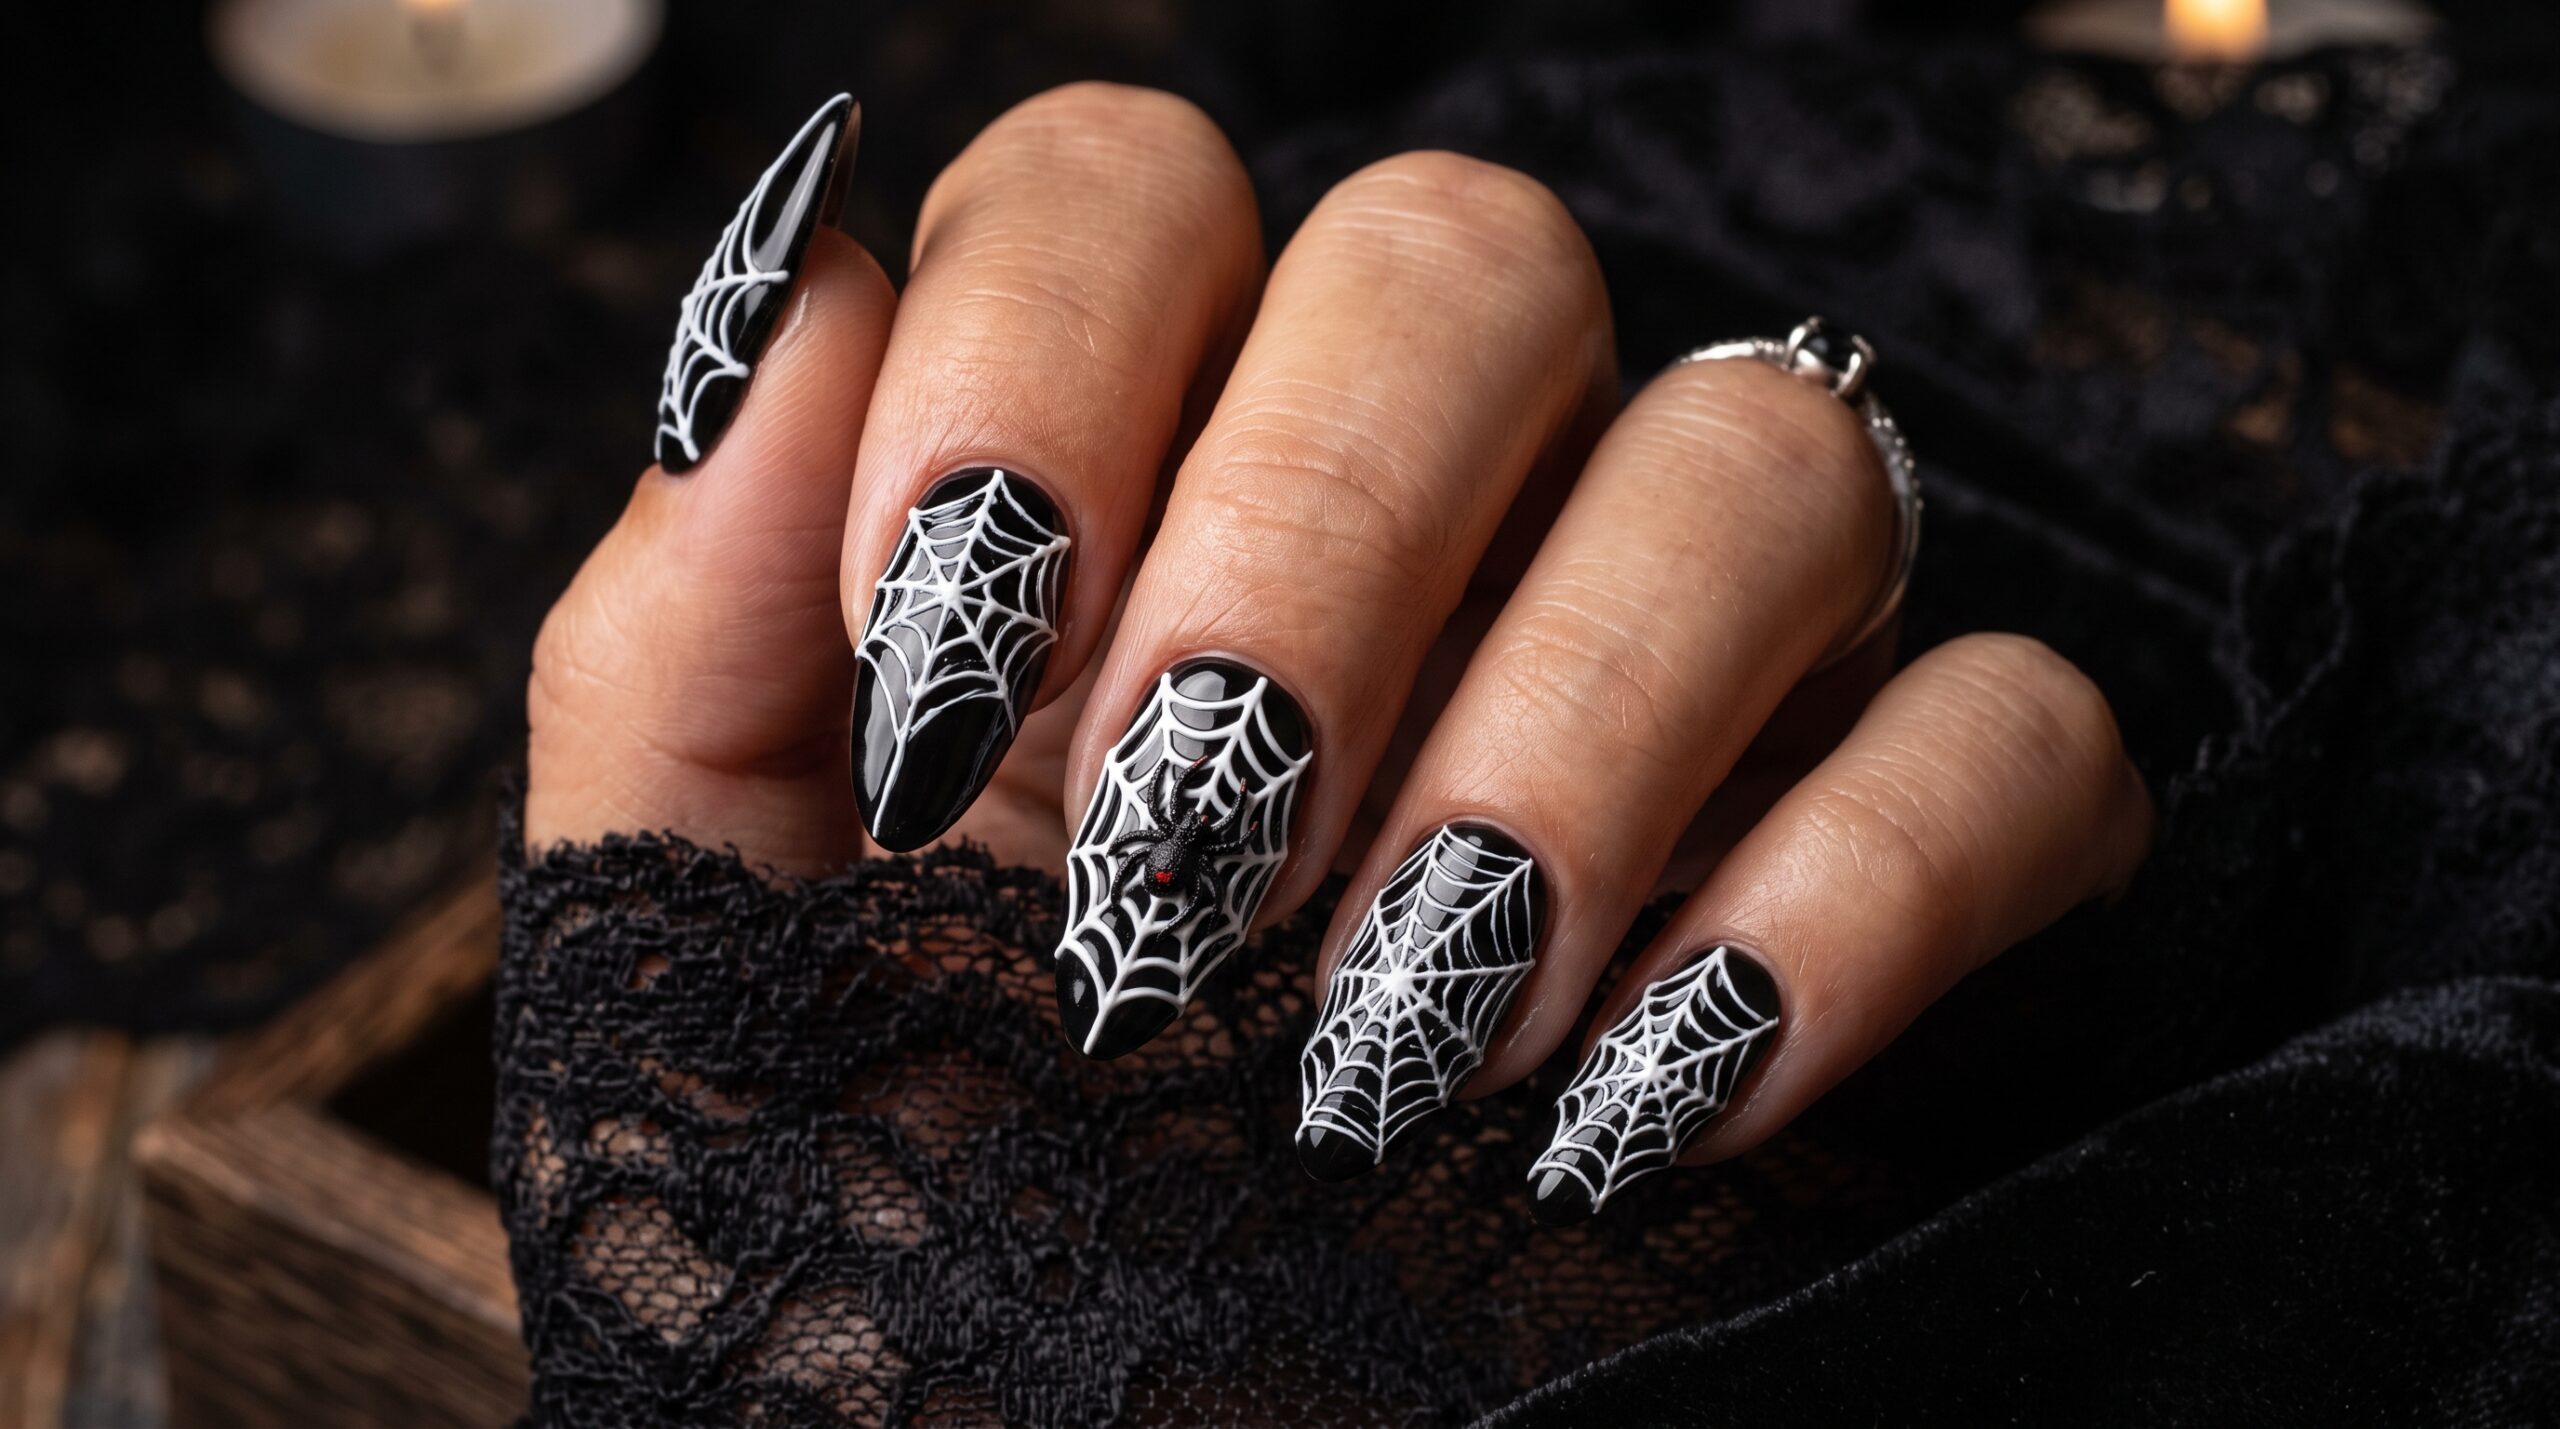
Not everyone wants cartoon pumpkins on their nails, and that is fair. This style keeps things quiet but still nods to the season.
These are the designs people stop you to ask about. They take more time, so they usually work best for a salon visit.
Short on time. These take fifteen minutes or less and still look festive.
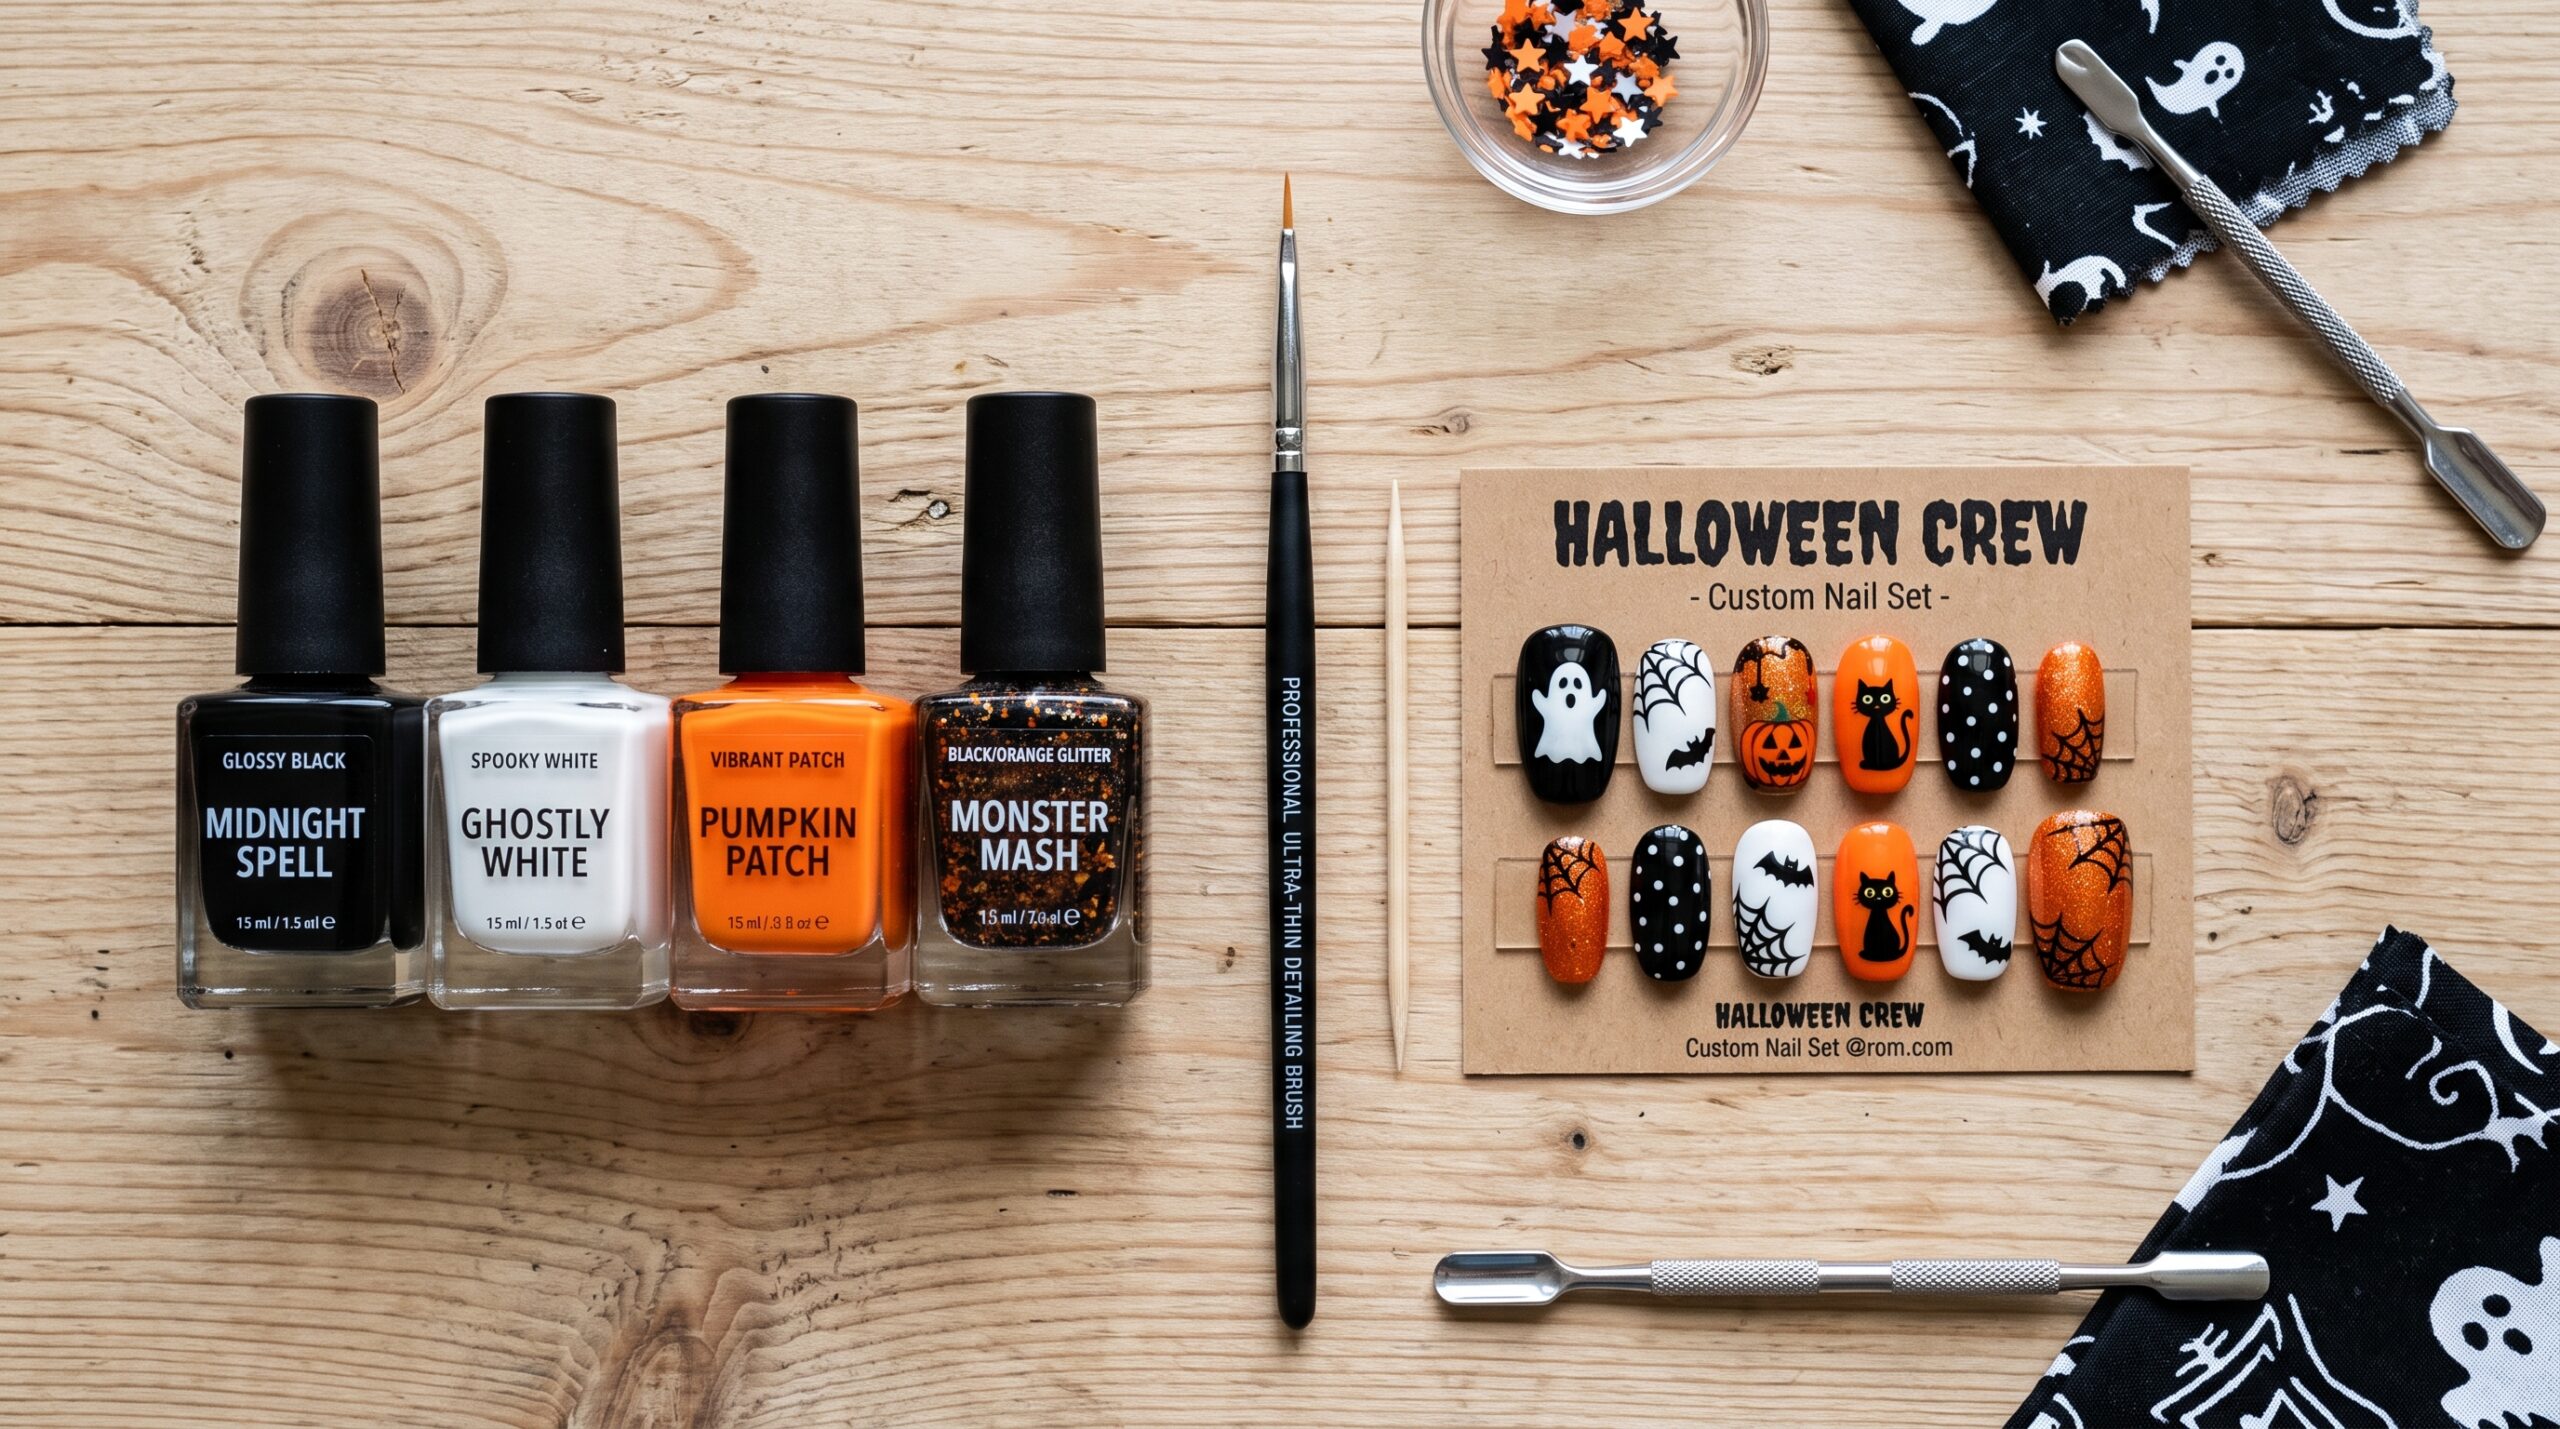
You do not need to be an artist to pull off good Halloween themed nail designs. Most of the designs above use the same handful of tools.
What you need
The steps
If your first try looks messy, that is normal. A cotton swab dipped in polish remover fixes small mistakes without ruining the whole nail.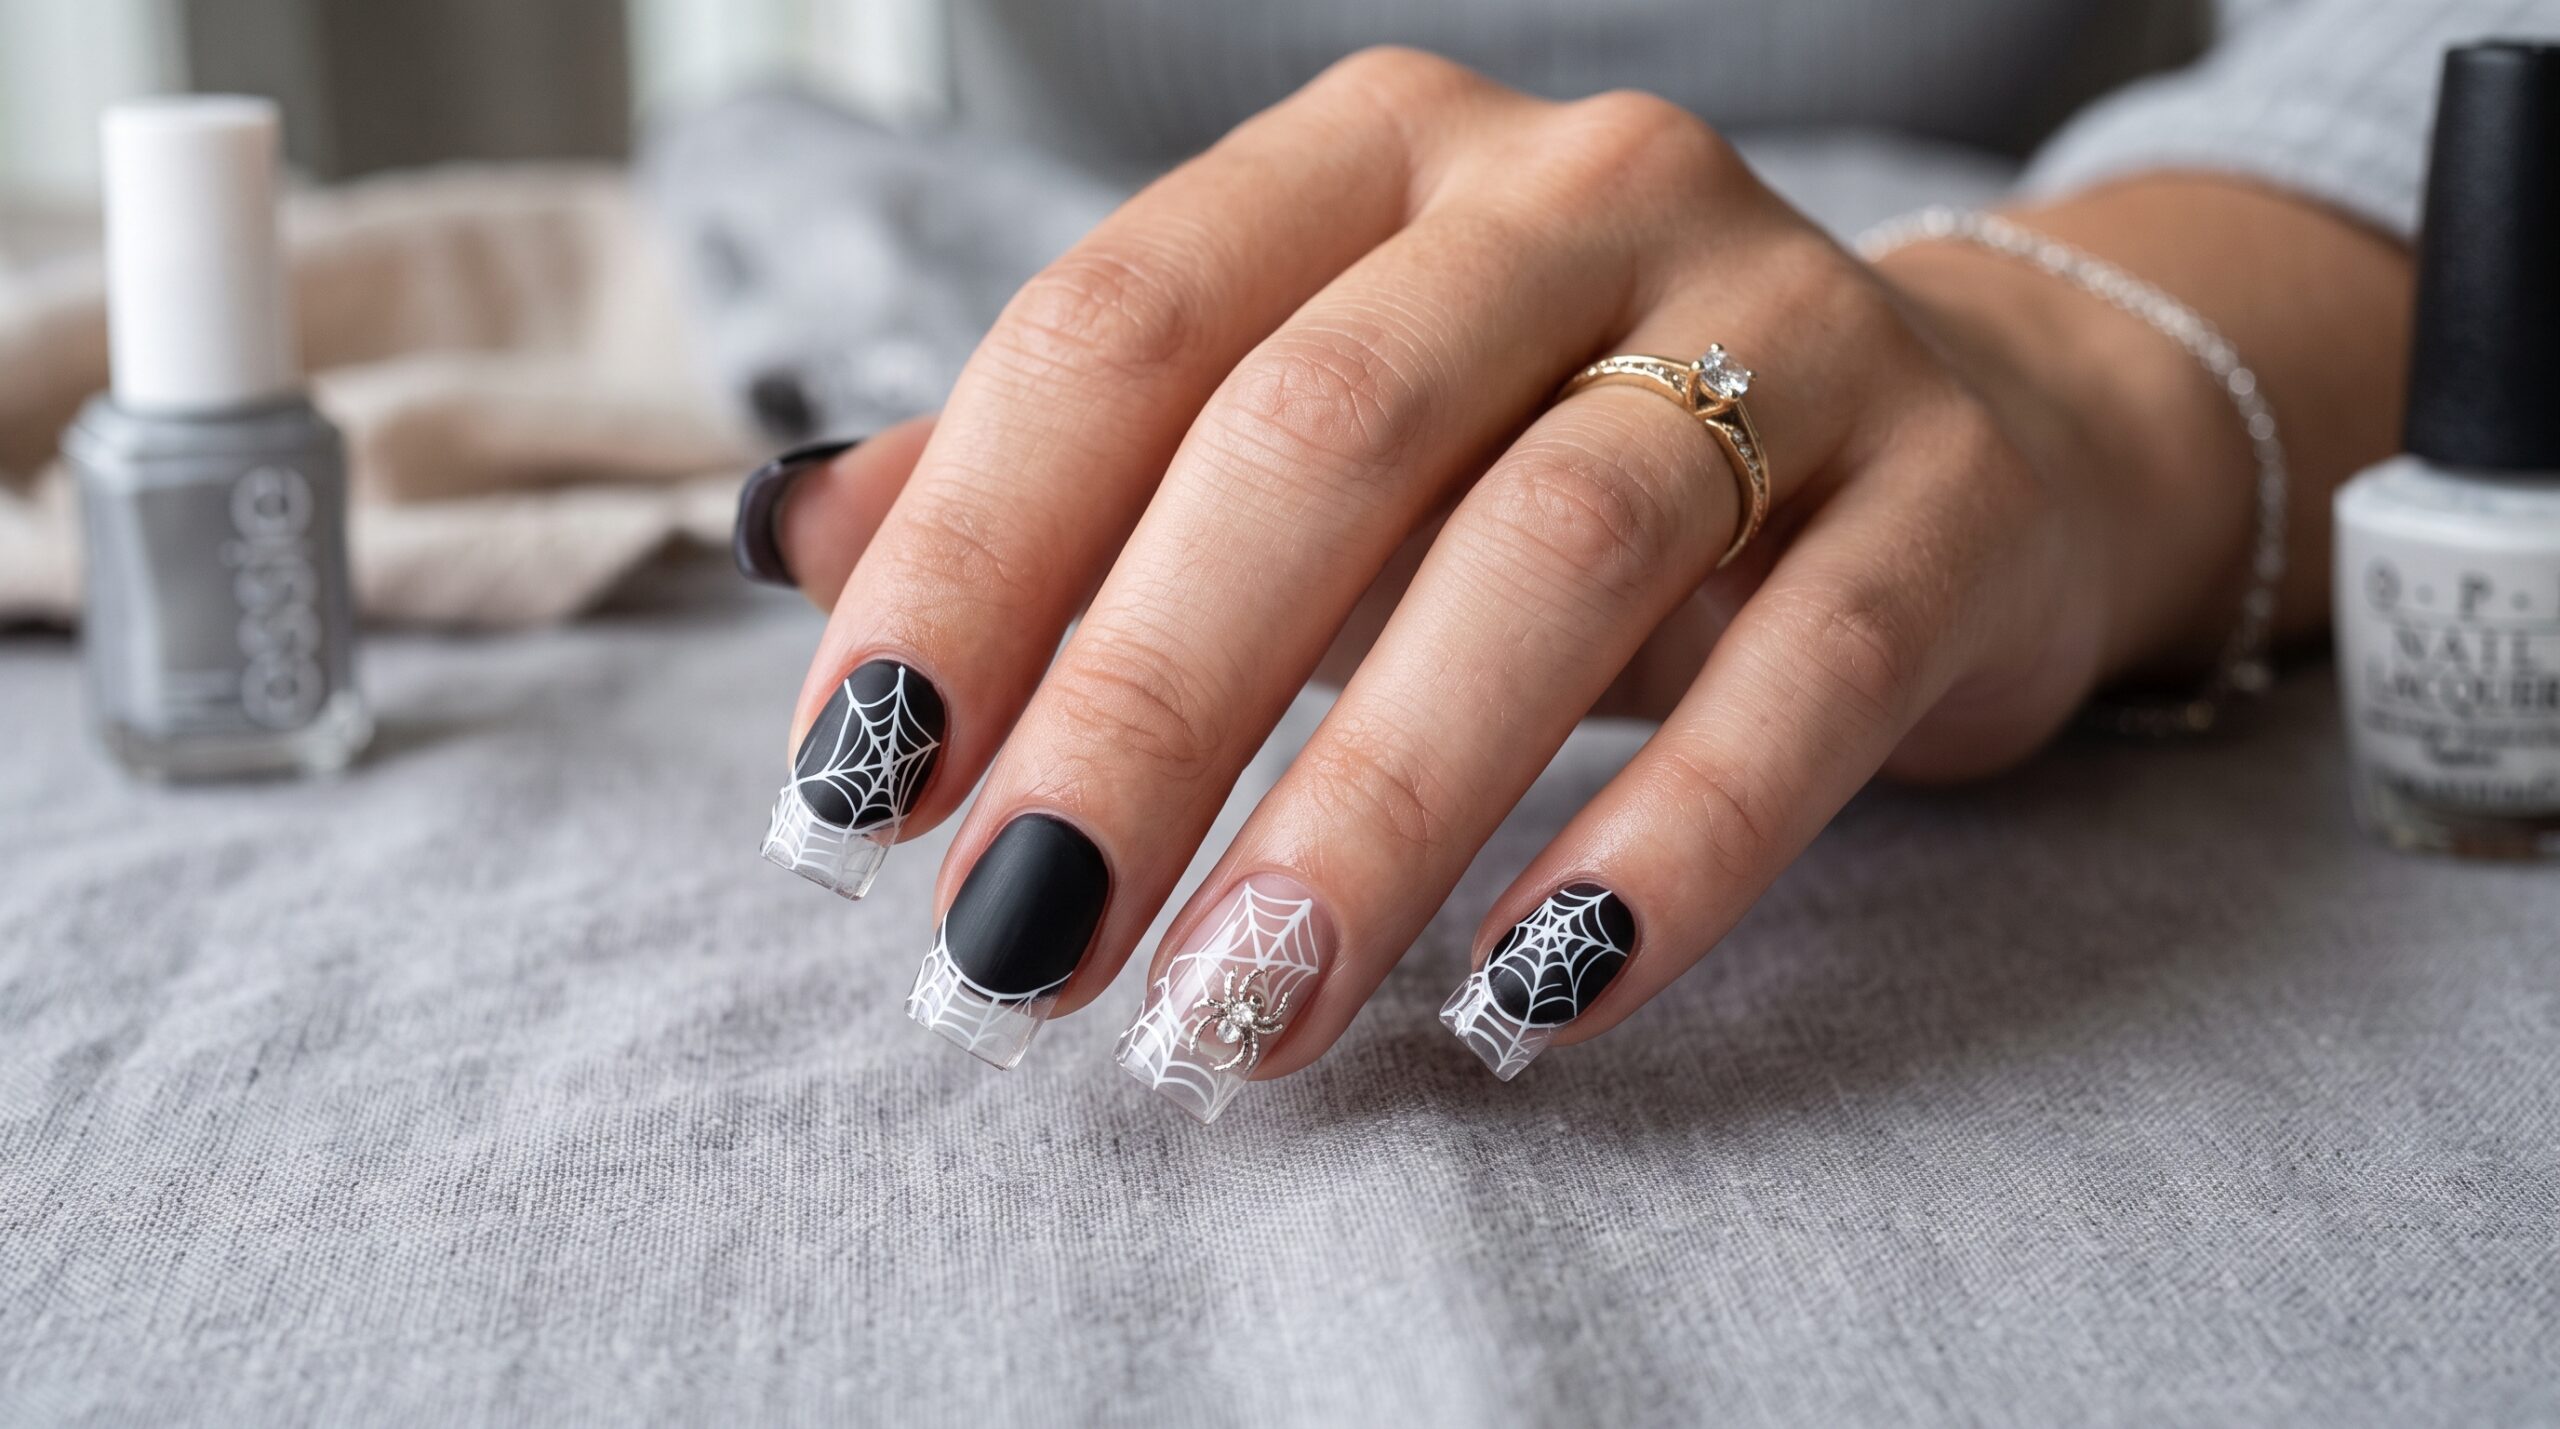
Most Halloween nail guides only show long acrylic nails, which leaves a lot of readers stuck. Here is what actually works for shorter, natural nails too.
This is one part most guides skip completely. Parents search for this every October, so it deserves real space.
For kids, safety matters more than style. Use polish, not press ons with strong glue, since young nails and skin can react to adhesive. Keep designs simple: dots for eyes, a rounded shape for a ghost, and light layers so the polish dries fast and does not chip during play. Water based, peel off polish is also a safe pick for younger kids, since it comes off in one piece without acetone.
This question comes up constantly, and most guides never answer it clearly.
If you want your Halloween themed nail designs to survive the whole month of October, gel polish or a quality press on set is your best bet.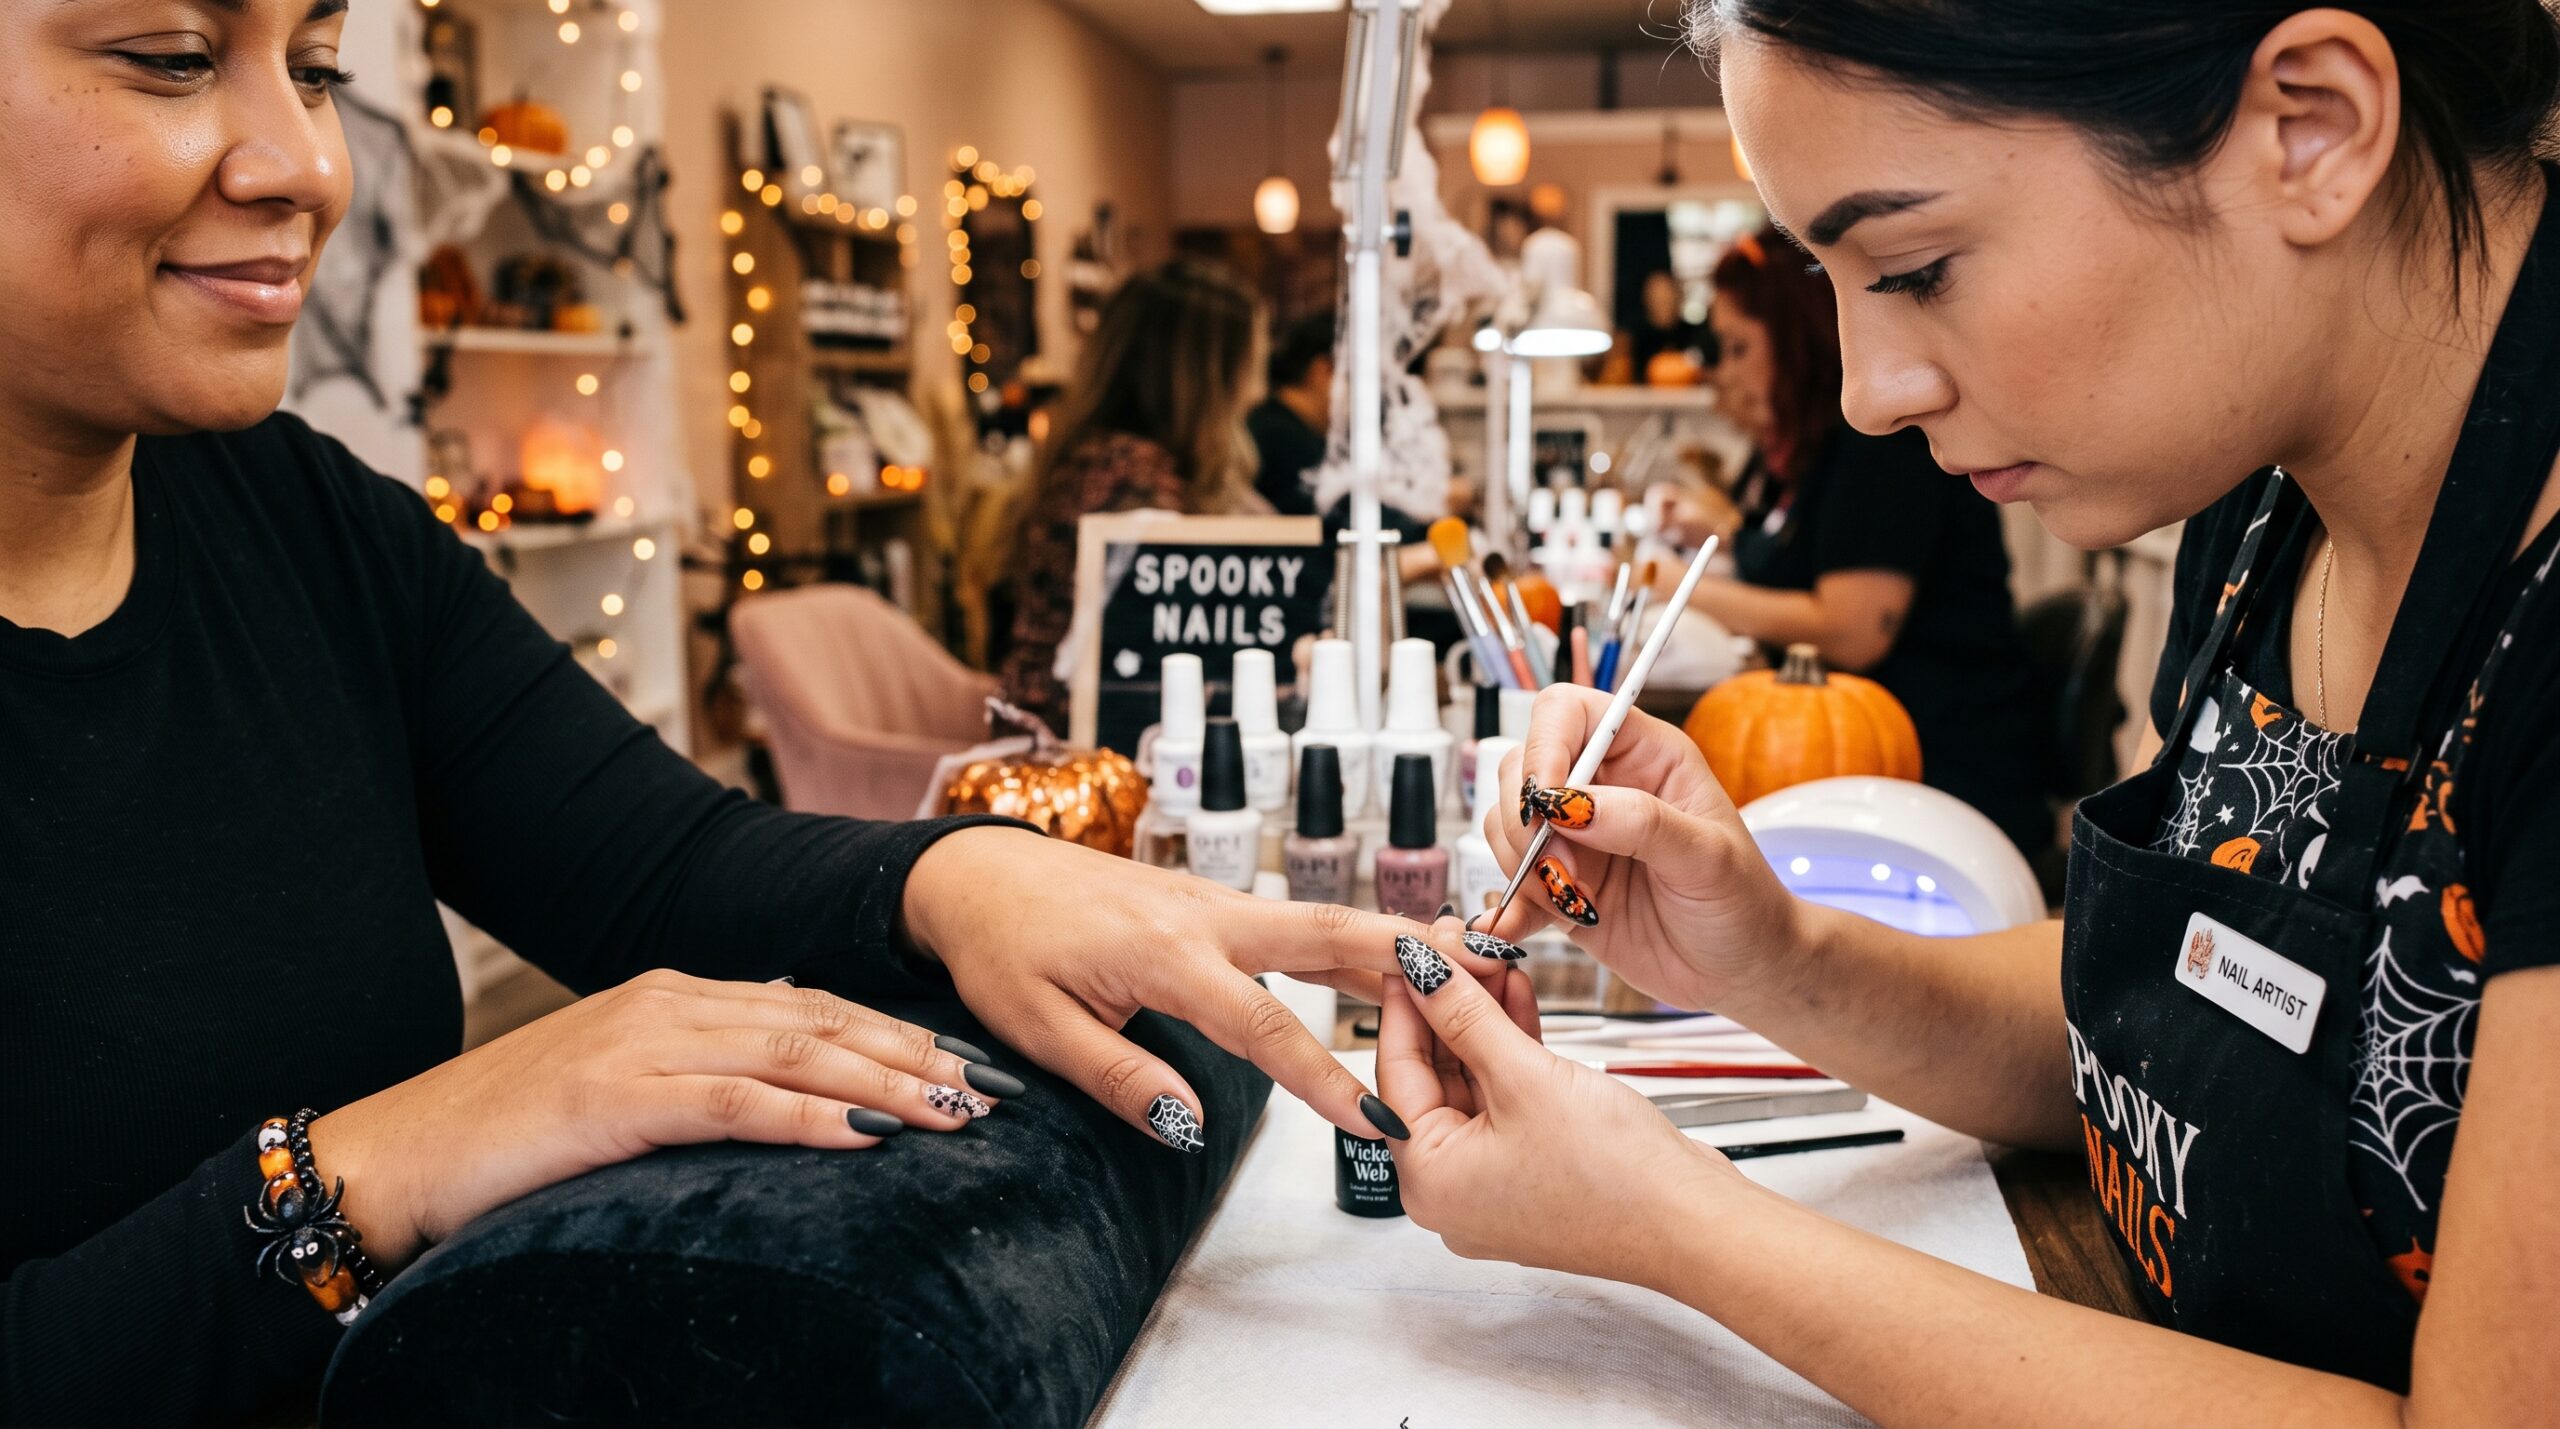
Cost is a real factor and almost no competitor guide breaks it down honestly.
| Option | Typical Cost | Time Needed |
|---|---|---|
| DIY with polish you own | $0 to $10 | 30 to 60 minutes |
| Press on nail set | $8 to $20 | 15 to 20 minutes |
| Salon gel manicure with simple art | $35 to $60 | 45 to 75 minutes |
| Salon acrylic set with detailed art | $60 to $120 | 90 to 120 minutes |
If you are on a tight budget, a press on set gives you salon level detail without the salon price. That is one reason ready made Halloween nail kits sell out fast every October.
This is the gap almost every guide misses, and it matters. Doing this wrong can genuinely damage your natural nails.
The Cleveland Clinic notes that press on nails carry a real risk of nail damage and allergic reaction if they are applied or removed the wrong way, so it is worth doing this step carefully rather than rushing it. You can read their full dermatologist guidance on press on nail risks if you want the details.
Before your Halloween themed nail designs go on, give your natural nails a few minutes of attention. Trim them straight across, gently push back cuticles after a warm shower, and skip anything that involves biting or picking. The American Academy of Dermatology has a simple, well tested list of tips for healthy nails that works well as a quick prep checklist, whether you paint your own nails or head to a salon.
If you have sensitive skin or a history of reactions to nail glue or acrylic, a patch test on one nail first is a smart, low effort step that most guides never mention.
You do not need a huge kit to get great results. A few good pieces go a long way.
Halloween themed nail designs often show up right alongside bigger seasonal plans, like a costume party, a fall trip, or a weekend away. If your October plans include travel, a few ideas worth pairing with your spooky manicure:
Most Halloween nail guides online are photo galleries with almost no real instruction. Common gaps include no mention of how long a design actually lasts, no honest cost comparison, no safe removal steps, and almost nothing written for kids or sensitive skin. This guide covers all of that on purpose, because those are the exact follow up questions people search for right after they find design inspiration.
What are the most popular Halloween themed nail designs for 2026?
Black chrome, spiderweb art, ghost nails, pumpkin accents, and blood drip French tips are leading this year, based on trend data from Pinterest and major nail brands.
Can I do Halloween nail art without any experience?
Yes. Simple designs like one accent nail with dots or a single ghost shape are beginner friendly and take under thirty minutes.
How much do Halloween nails usually cost?
DIY designs cost close to nothing if you already own polish. Press on sets run eight to twenty dollars. Salon visits with detailed art typically cost thirty five to one hundred twenty dollars, depending on the design.
How do I remove Halloween press on nails without damaging my natural nails?
Soak them in warm soapy water for a few minutes to loosen the glue, then gently ease them off. Never pull or peel them straight off.
Are Halloween nails safe for kids?
Yes, with a few changes. Skip strong glue based press ons for young kids and use polish, or a peel off, water based polish that comes off easily and safely.
What nail shape works best for detailed Halloween designs?
Coffin and almond shapes give you the most room for detailed art, while square and short nails work better with simple, single accent designs.
Halloween themed nail designs are one of the easiest, cheapest, and most fun ways to celebrate the season, whether you paint your own or book a full salon set. Start simple if you are new to this, pick a style that actually matches your personality instead of copying a photo you saw once, and take the time to remove your design safely when the season ends. Your nails will thank you, and you will have a good reason to plan next year’s look even earlier.